In addition to licensing center feature, Network Manager provides basic deployment functionality for remote installation of DAEMON Tools Net applications. This functionality uses RPC service and Windows File Sharing for remote installation.
Here are basic pre-requirements for DAEMON Tools Net deployment:
-
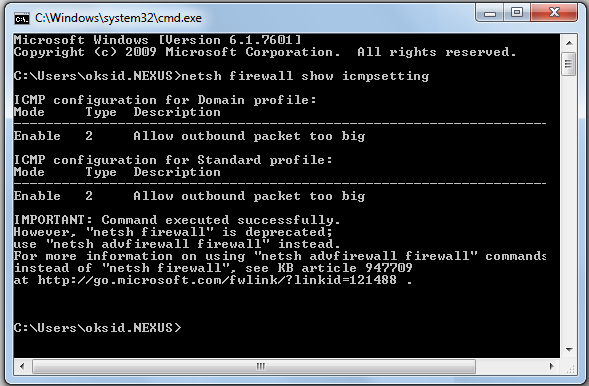
On the following screenshot you can see required firewall settings for clients systems.
- Network Manager requires allowed inbound ICMP echo request
- Allowed access to Remote Procedure Call port (standard 135 TCP port)
- Allowed rules for Windows File and Printers Sharing (standard 139, 445, 137 and 138 TCP ports)
- Allowed access for 3260 TPC port which is used by DAEMON Tools Net for license activation and for access to iSCSI devices
-
In case you are installing DAEMON Tools Net in WORKGROUP environment you need to make some changes in Windows settings:
- User account which will be used for deployment must have a password, because of standard security MS Windows restriction for network access
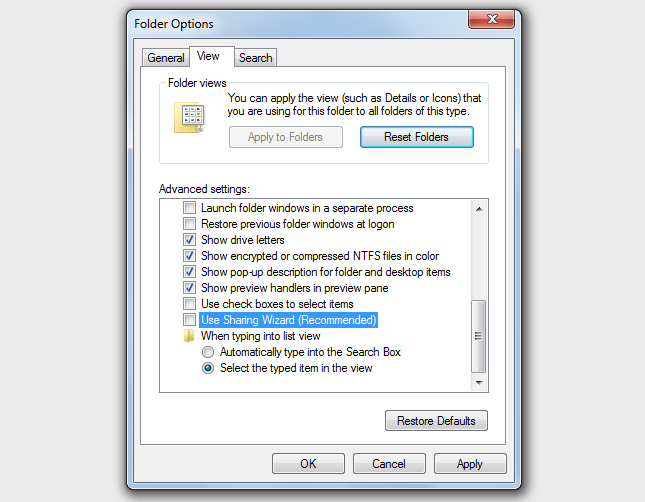
- Disable "Use simple file sharing" option in Folder Options settings for Windows XP systems
-
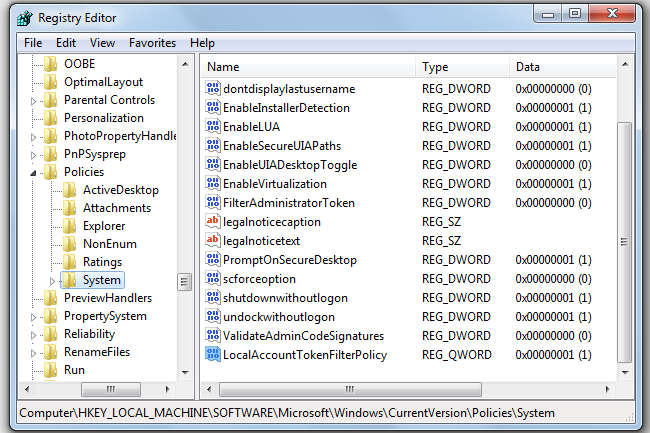
Add registry value for Windows Vista, Windows 7, Windows Server 2008 and Windows Server 2008R2: [HKEY_LOCAL_MACHINE\SOFTWARE\Wow6432Node\Microsoft\Windows\CurrentVersion\Policies\System] "LocalAccountTokenFilterPolicy"=dword:00000001
-
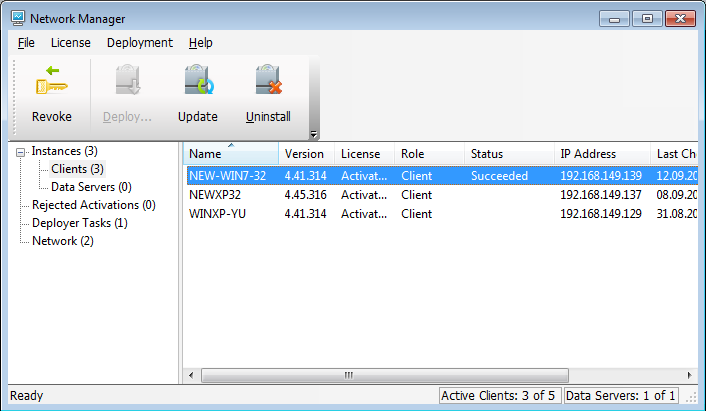
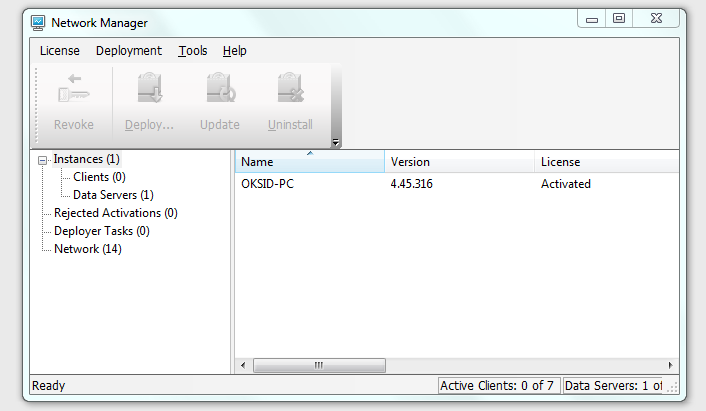
Open Network Manager and navigate to Network item in the left pane. Here you can see computers list discovered in your LAN.
-
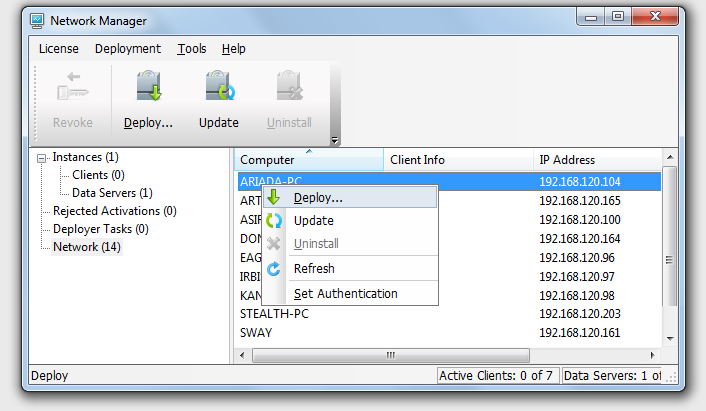
Select computer and open context menu to see available actions.
-
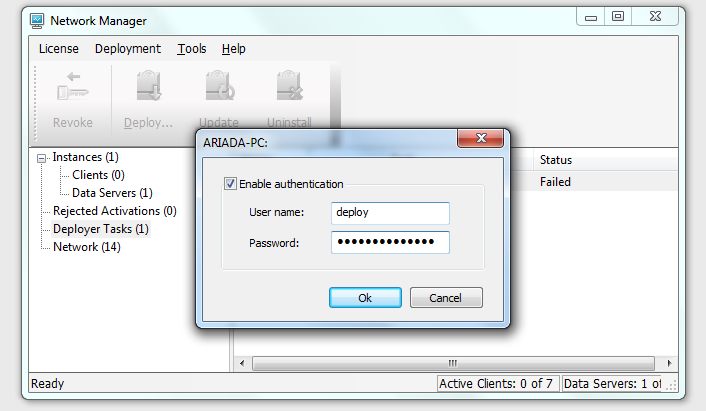
Select "Set Authentication" context menu item to specify username/password for the remote system for software deployment. This user account must have administrative rights on this remote system. This authentication information will be saved and applied for this remote computer only. In case you have identical user account on all of your systems, you can specify this information in Network Manager global preferences (open menu File → Preferences… → navigate to Security section).
-
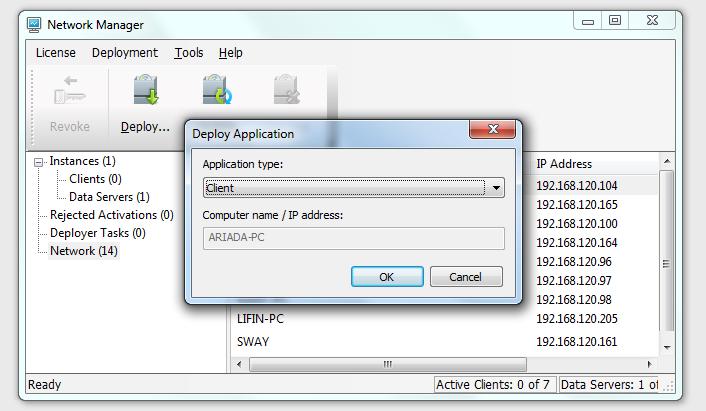
Click "Deploy" in the context menu to open "Deploy Application" dialog where you can select application type Client / Data Server. Then Click OK to deploy selected application.
-
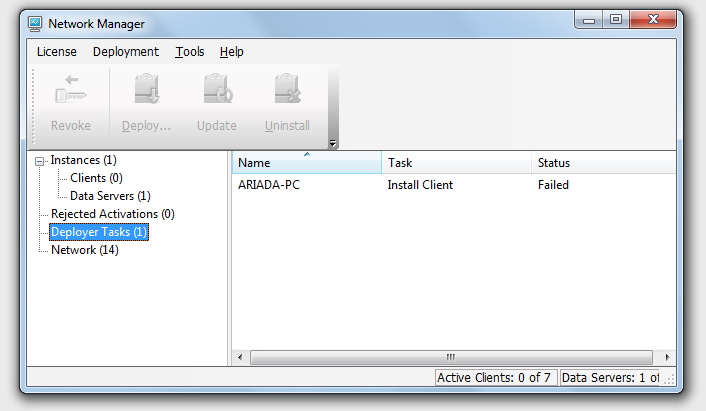
New item will be displayed in the "Deployer Tasks" list with status "Installing…".
-
Then you will see new item in Clients or Data Servers list with status "Succeeded".